To connect to Wi-Fi from your headset:
- Press
/
on your right Touch controller to pull up your universal menu.
- Hover over the clock on the left side of the universal menu. When Quick Settings appears, select it to open the Quick Settings panel.
- Select Wi-Fi.
- Select the toggle to turn Wi-Fi on, then select the Wi-Fi network you want to connect to and enter the password.
- Select Connect.
To connect your headset to Wi-Fi from the mobile app:
- Turn on your headset and open the Meta Quest mobile app on your phone.
- Tap Menu at the bottom, then tap Devices.
- Select the headset you are currently using.
- Under Headset Settings, tap Wi-Fi, then select the Wi-Fi network you want to connect to and enter the password.
If your headset is configured with ArborXR:
ArborXR Launcher
Connecting to Wi-Fi
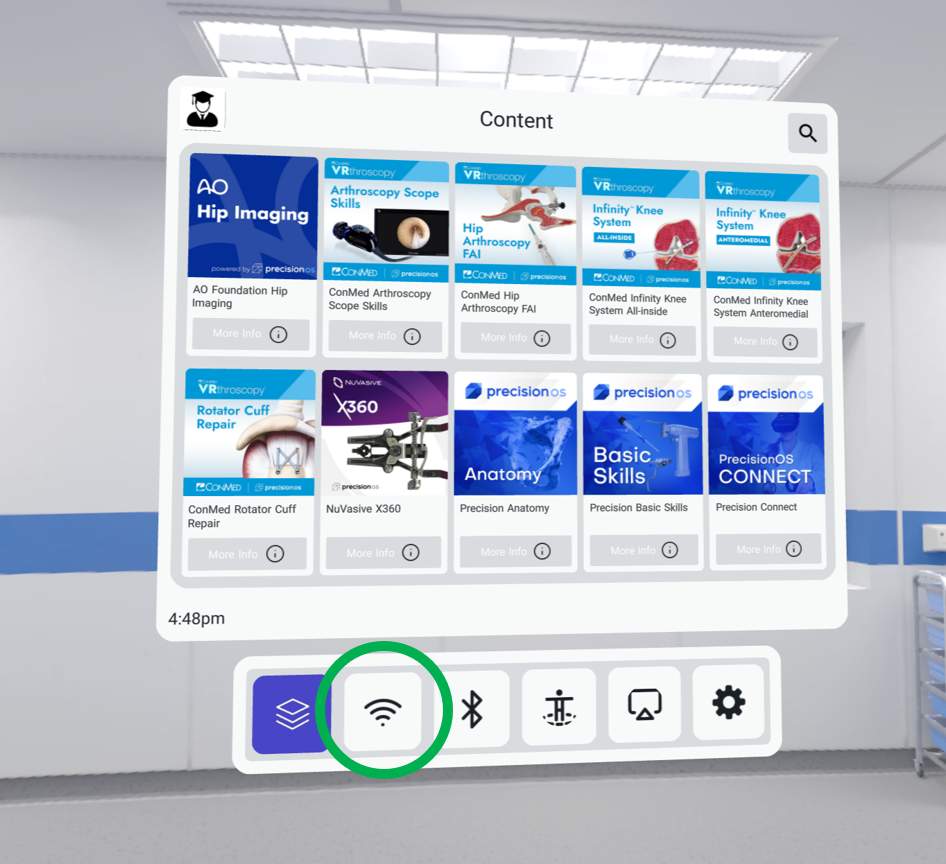
- Point a controller at the Wi-Fi icon, and pull the trigger button
- Select you Wi-Fi network from the list
To check the security of your network, you can tap the connected network name to see additional info including what protocol is being used (ex: WPA/WPA2 PSK).